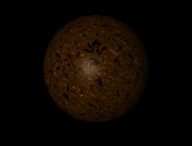
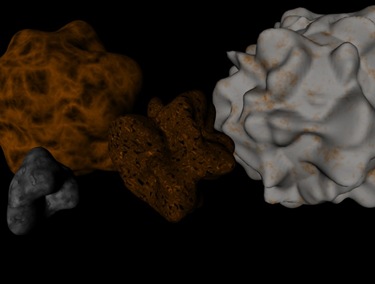
As always, there are at least 2 ways to go about doing this. One way is modeling it polygon by polygon, but that’s kind of a stretch, so we will be using an easier way, in accordance with the tradition of this blog.
Start off with a sphere, and make it editable(of course after you have set the subdivision count). Create a new material, so we can start working with this.
For the color, you should ask yourself what does an asteroids color look like? I don’t really know, but I can imagine it depends on where it came from, but I use the standard mud/rock color mix.
In the color tab set the color to Noise, and choose which colors you see fit. A mix of 2 shades of brown might work, or you could add some black to it. Your choice. You might even want to choose different noise types. For experimentation purposes, I chose Zada:

Turn of the Specular checkbox, so you don’t have the shine. In the end, you might want to put it in a HyperNURBS object, but I only recommend this if you won’t be using too many of these in a scene.
The results vary depending on what colors, types of noise, and sphere size you use, but if you know exactly what you need, then you’ll probably find a way to make it. You are now one step closer, to making your own Asteroid field.


No comments:
Post a Comment