Decided to drop the post numbering, it seems a bit silly in retrospect. Haven’t posted anythig here in a while ‘cause I thought noone reads it, but I have been proven wrong and I’m back :)
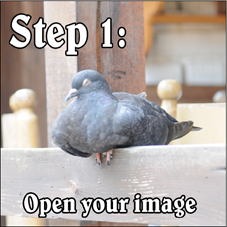
First things first. Open Photoshop and an Image you want to work on:
Now, select the Custom Shape Tool: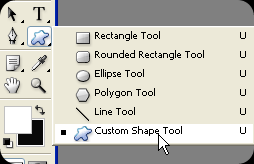
And from the Custom Shapes list, select the postage stamp:
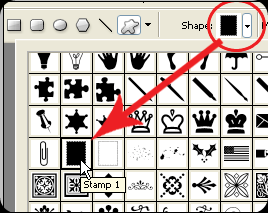
Out of the 3 choices in the upper left corner of your screen, click on the 3rd one (fill pixels):
Create a new layer: SHIFT + CTRL + N (press OK)

Right click the new Layer in the Layer Palette and then Blending Options: 
In this window, first thing to do is move the second slider(Fill 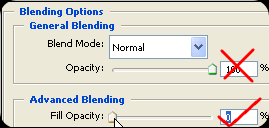

Now it’s time to play with the settings. Depending on the size of your photo, you are going to need different settings, but I’ll tell you what settings to keep in mind.
Click on Drop Shadow, and you will get it’s settings. Play with the Size and Spread sliders ‘till you get what you want:
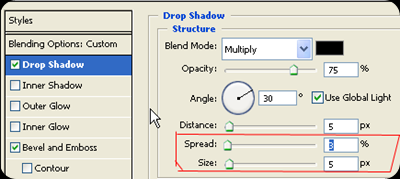
You could also mess with the Bevel settings, but we will skip that for now, so just click OK.
Select the Magic Wand Tool, and click out side the

Select the photo from the Layer Palette, and press DELETE:
That would be it! You might want to change the background color, so with the outer part still selected, take the Paintbucket tool, with white color, and color it in.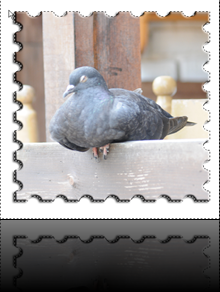
You don’t have to stop here. Invert the selection with SHIFT + CTRL + I(so the photo is selected), go to the filter gallery: Filter – > Filter Gallery, and choose an effect. I chose the Cutout filter, and added some text:

That’s it. There are some variations on the subject, and I would love to know what you would change to suite your needs, so feel free to write a comment on the subject :)


No comments:
Post a Comment